Step-by-Step Guide to Installing an HDMI Cable for Your TV
Properly connecting an HDMI cable ensures optimal audio-visual performance and avoids common issues like signal loss or poor image quality. Follow these detailed steps to set up your TV and devices correctly.
Preparing for Installation
Before connecting the cable, gather the necessary tools and verify compatibility:
- Check Port Locations: Identify HDMI ports on both your TV and the source device (e.g., streaming stick, gaming console, or Blu-ray player). Most TVs have ports labeled “HDMI 1,” “HDMI 2,” etc., often located on the back or side.
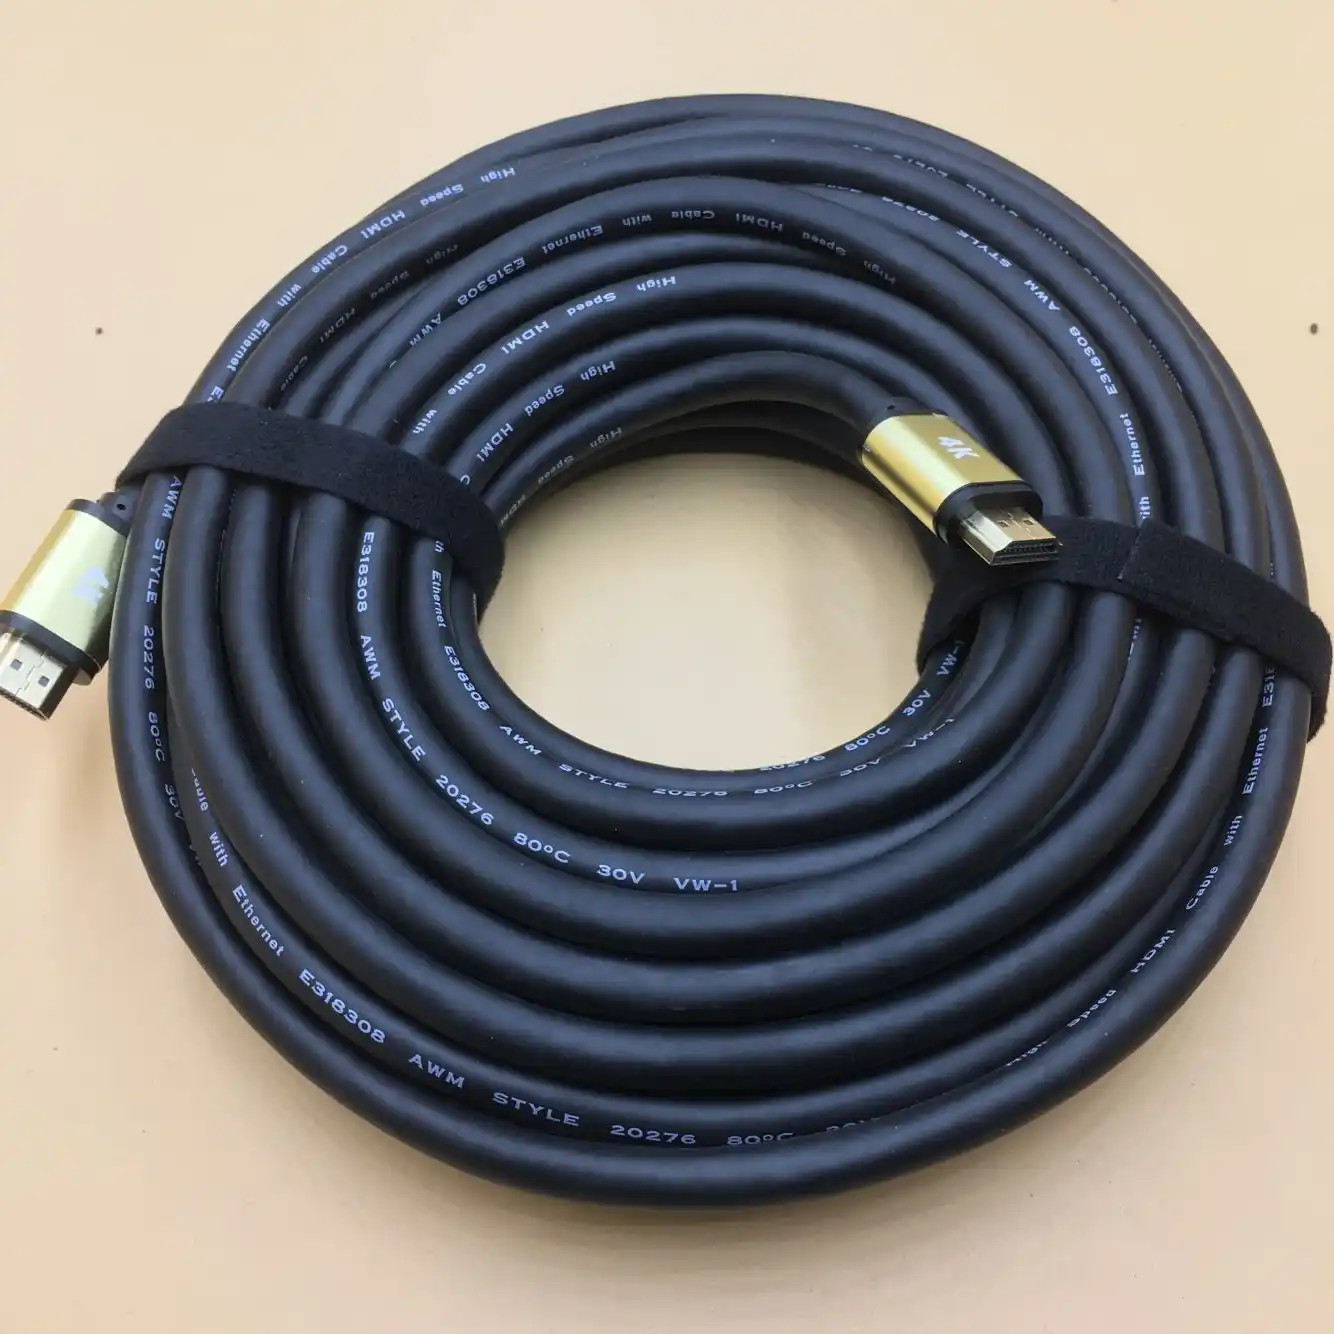
- Inspect Cable Condition: Ensure the HDMI cable is undamaged, with no visible fraying or bent connectors. If reusing an older cable, confirm it supports the required resolution and features (e.g., 4K or HDR).
- Power Off Devices: Turn off the TV and all connected devices to prevent electrical damage during installation. This also makes it easier to identify ports in low-light conditions.
Pro Tip: If your TV has multiple HDMI ports, note which one you’re using for easier navigation in the TV’s input menu later.
Connecting the HDMI Cable to Devices
Align the cable with the ports and avoid forcing connections to prevent damage:
- Align the Connector: Hold the HDMI plug with the wider side facing up (for standard cables) and gently insert it into the port. The connector should slide in smoothly without resistance.
- Secure the Connection: For devices placed in tight spaces, ensure the cable isn’t bent at extreme angles, which could strain the port or cable over time. If the port feels loose, double-check for debris or misalignment.
- Repeat for Source Devices: Connect the other end of the cable to your source device (e.g., laptop, gaming system). If using an HDMI switch or soundbar, follow the same process for intermediate devices.
Common Mistake: Avoid swapping HDMI ports while devices are powered on, as this can cause temporary signal glitches or require a manual input reset.
Configuring TV Settings for HDMI Input
After physical installation, adjust the TV’s settings to recognize the connected device:
- Switch Input Source: Use the TV remote to navigate to the “Input” or “Source” menu. Select the HDMI port number corresponding to your connected device (e.g., “HDMI 2”).
- Adjust Resolution Settings: If the screen displays a “No Signal” error or incorrect resolution, access the TV’s display settings. Ensure the resolution matches the device’s output (e.g., 1080p, 4K). Some devices may require manual configuration in their own settings menus.
- Enable Advanced Features: For features like HDR or high refresh rates, check both the TV and device settings. For example, gaming consoles often require enabling “Game Mode” or “VRR” in the TV’s picture settings.
Troubleshooting: If audio isn’t working, verify the TV’s audio output settings. Some setups may require switching from “TV Speakers” to “HDMI Audio” or an external sound system.
Testing and Final Adjustments
Confirm the connection works across different scenarios and optimize for usability:
- Play Test Content: Stream a video or launch a game to check for stuttering, color inaccuracies, or audio sync issues. Test multiple resolutions if supported (e.g., switching between 1080p and 4K).
- Organize Cables: Use cable clips or Velcro straps to secure loose wires, especially if the TV is mounted on a wall. This prevents accidental disconnections and improves aesthetics.
- Update Firmware: Check for firmware updates for both the TV and connected device. Manufacturers often release patches to improve HDMI compatibility or add features like eARC support.
Long-Term Care: Periodically inspect HDMI ports for dust buildup, which can interfere with connections. Use compressed air to clean ports gently if needed.
By following these steps systematically, you can establish a reliable HDMI connection that leverages your TV’s full capabilities without technical hiccups.